Installing and Running the Emulator
Under Revision: Not Recommended
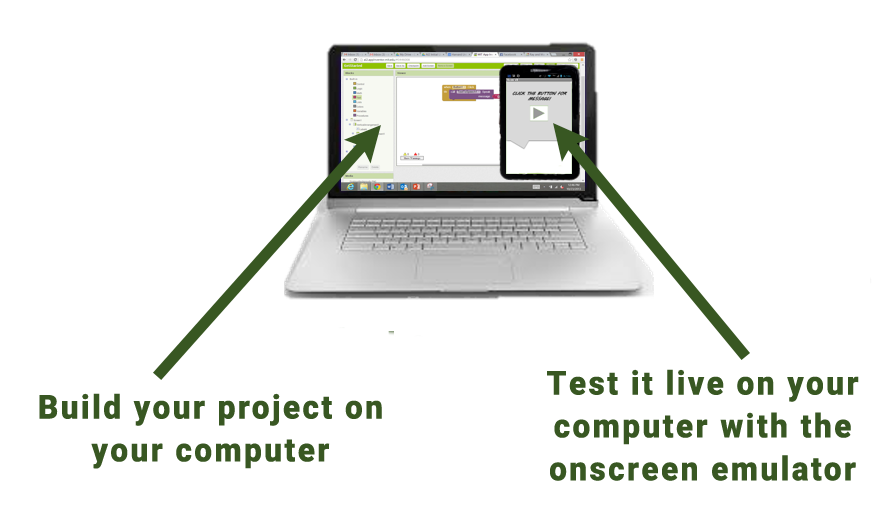
If you do not have an iOS or Android phone or tablet, you can still build apps with App Inventor. App Inventor provides a mobile phone emulator, which works just like an Android device but appears on your computer screen. So you can test your apps on an emulator and still distribute the app to others, even through the Google Play Store. Some schools and after-school programs develop primarily on emulators and provide a few iOS or Android phones for final testing.
To use the emulator, you will first need to install some software on your computer (this is not required for testing apps with a mobile device and Wi-Fi). Follow the instructions below for your operating system, then come back to this page to start the emulator
Important: If you are updating a previous installation of the App Inventor emulator/USB software, see How to update the App Inventor emulator software. You can check whether your computer is running the latest version of the software by visiting the test page for the emulator/USB software component, aiStarter.
Step 1. Install the App Inventor Setup Software
Step 2. Launch aiStarter (Windows & GNU/Linux only)
Using the emulator or the USB cable requires the use of a program named aiStarter. This program is the helper that permits the browser to communicate with the emulator or USB cable. The aiStarter program was installed when you installed the App Inventor Setup package. You do not need aiStarter if you are using only the wireless companion.
- On a Mac, aiStarter will start automatically when you log in to your account and it will run invisibly in the background.
- On Windows, there will be shortcuts to aiStarter from your Desktop, from the Start menu, from All Programs and from Startup Folder. If you want to use the emulator with App Inventor, you will need to manually launch aiStarter on your computer when you log in. You can start aiStarter this by clicking the icon on your desktop or using the entry in your start menu.

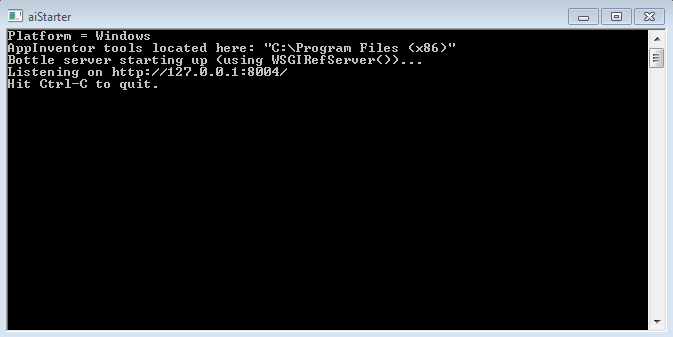
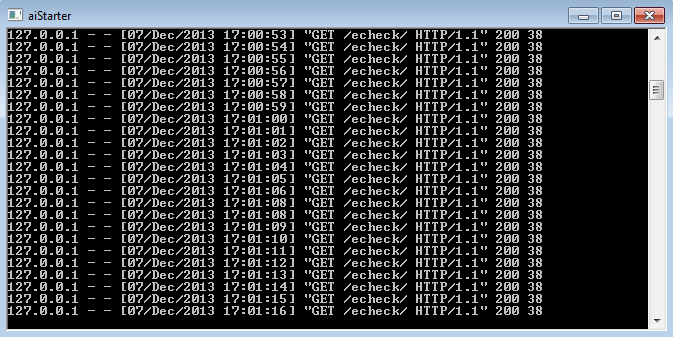
The aiStarter Icon on WindowsTo launch aiStarter on Windows, double click on the icon (shown above). You'll know that you've successfully launched aiStarter when you see a window like the following:
- On GNU/Linux, aiStarter will be in the folder /usr/google/appinventor/commands-for-Appinventor and you'll need to launch it manually. You can launch it from the command line with /usr/google/appinventor/commands-for-appinventor/aiStarter &
Step 3. Open an App Inventor project and connect it to the emulator
First, go to App Inventor and open a project (or create a new one -- use Project > Start New Project and give your project a name).
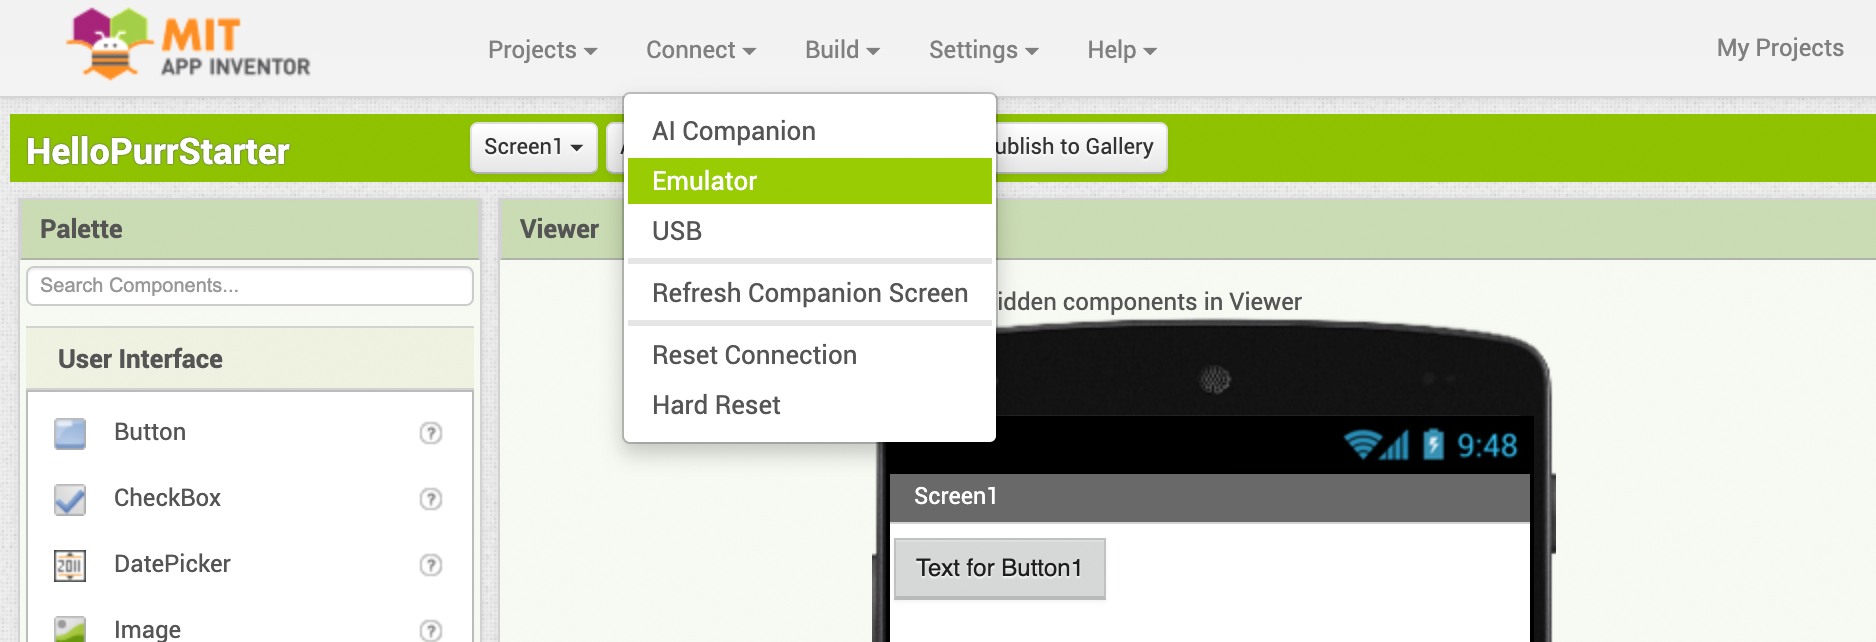
Then, from App Inventor's menu (on the App Inventor cloud-based software at ai2.appinventor.mit.edu), go to the Connect Menu and click the Emulator option.
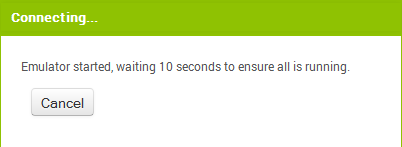
You'll get a notice saying that the emulator is connecting. Starting the emulator can take a couple of minutes. You may see update screens like the following as the emulator starts up:
The emulator will initially appear with an empty black screen (#1). Wait until the emulator is ready, with a colored screen background (#2). Even after the background appears, you should wait until the emulated phone has finished preparing its SD card: there will be a notice at the top of the phone screen while the card is being prepared. When connected, the emulator will launch and show the app you have open in App Inventor.
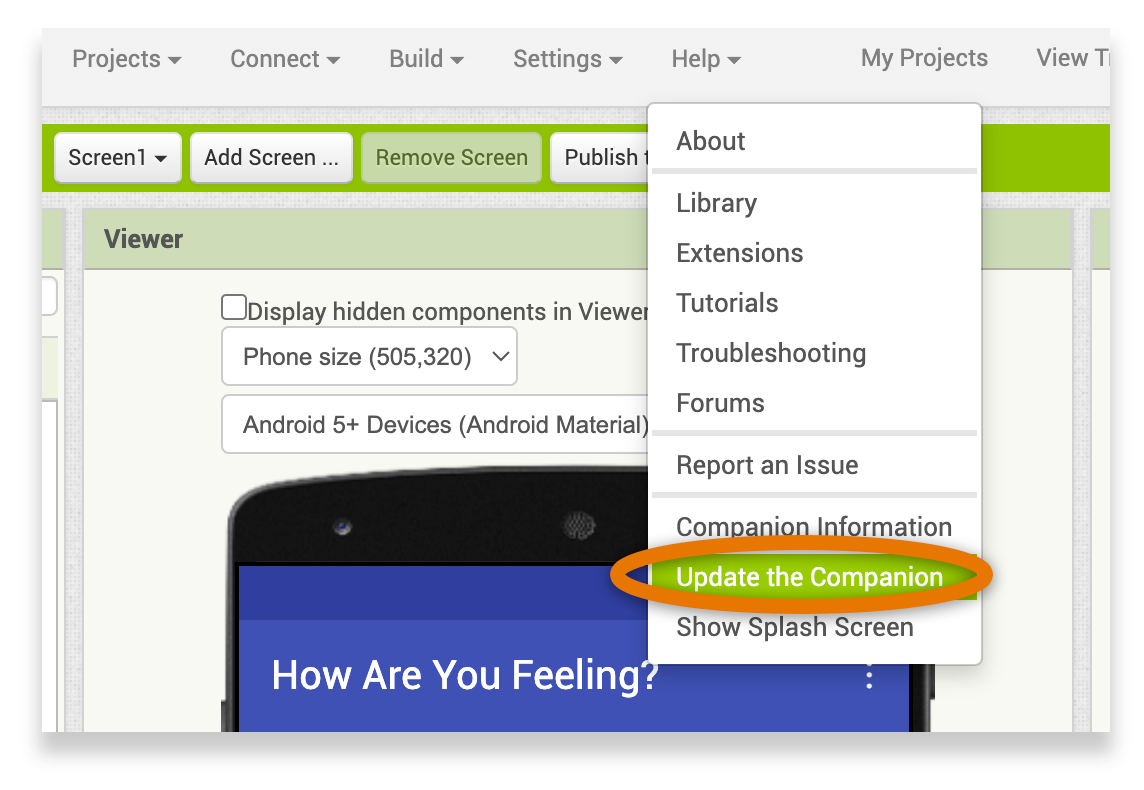
If this is the first time using the emulator after installing it, you will see a message asking you to update. Follow the directions below ("Troubleshooting") to perform the update and reconnect the emulator. You will need update whenever there is a new version of the App Inventor Companion.
For problems with aiStarter, or if the Emulator does not connect, go to Connection Help for information about what might be wrong.
#1 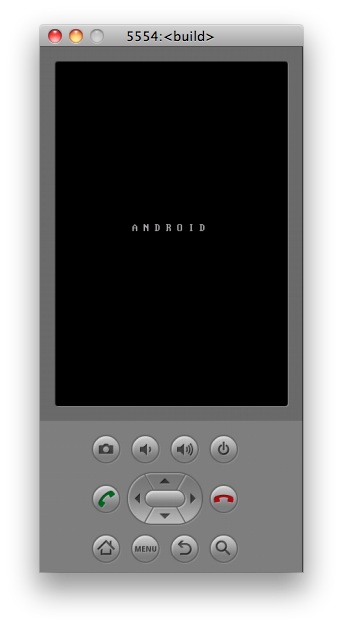 #2
#2 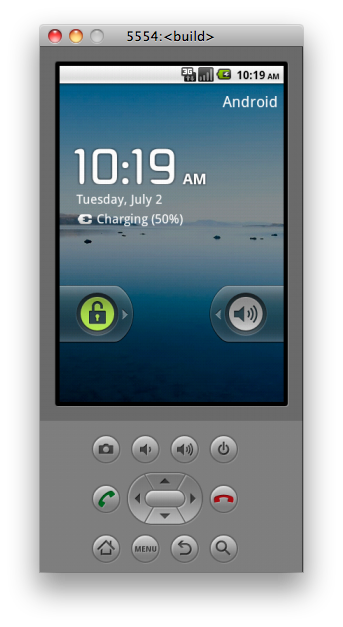 #3
#3 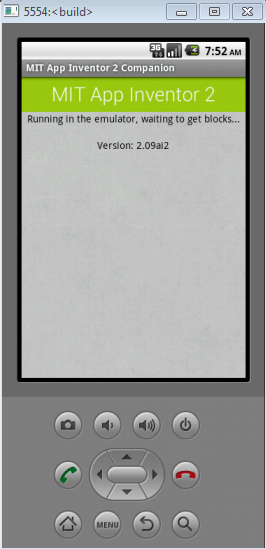 #4
#4 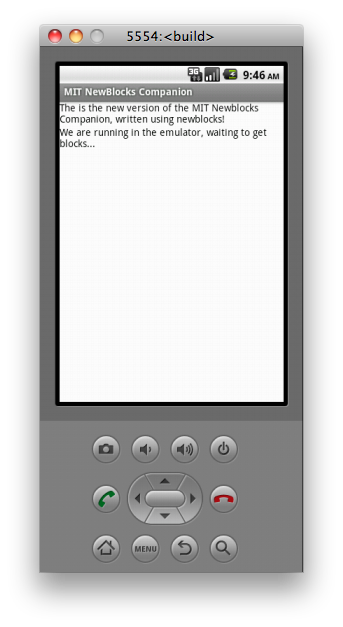
Troubleshooting: Check that the Companion version number in your emulator is the newest one.
If the emulator does not work, it may have an older version of Companion installed. Luckily, this is an easy fix. First, check Companion information in App Inventor. Next, compare the latest Companion version with the one in the emulator.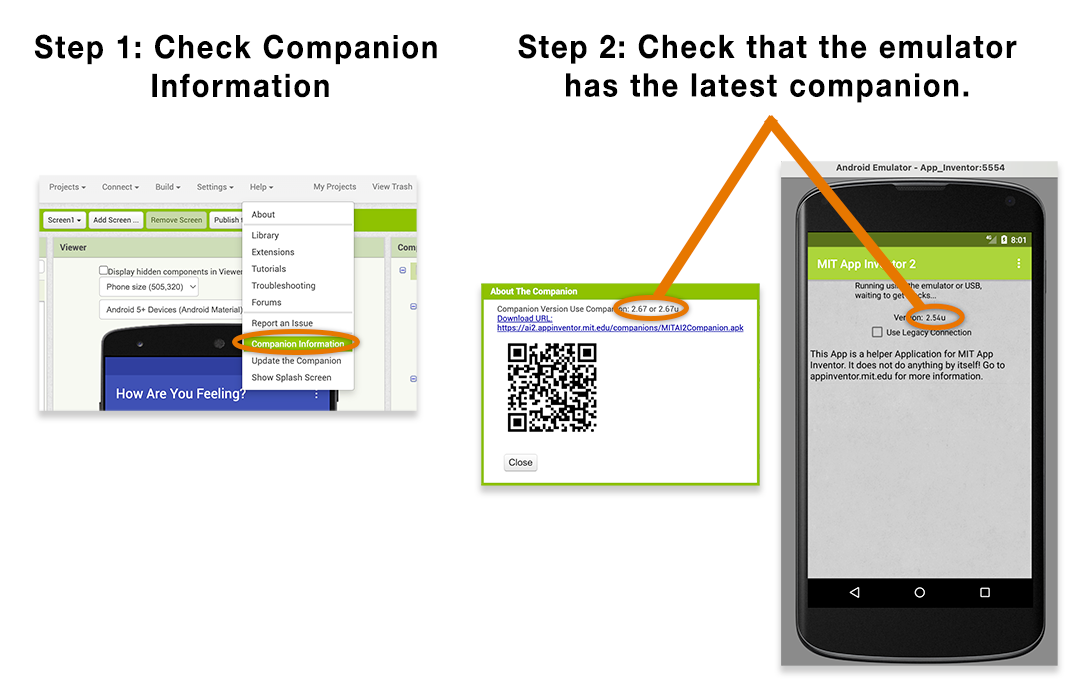
Setup complete! You are now ready to build your first app!
MIT App Inventor


This work is licensed under a Creative Commons Attribution-ShareAlike 4.0 International License.
Terms of Service and Privacy Policy
Other inquiries: Email
GitHub: mit-cml
Accessibility: accessibility.mit.edu


