4B. Build Apps with Emulator
App Inventor Classic • App Inventor Classic • FOR APP INVENTOR 2 CLICK HERE• App Inventor Classic • App Inventor Classic
Part 4 of 4 Setup Instructions
If you are using the emulator for the first time, follow these steps.
Step 1 Open the Blocks Editor, and click the "New emulator" button at top of the window.

Step 2. You'll get a notice saying that the emulator is starting, and asking you to be patient; starting the emulator can take a couple of minutes.
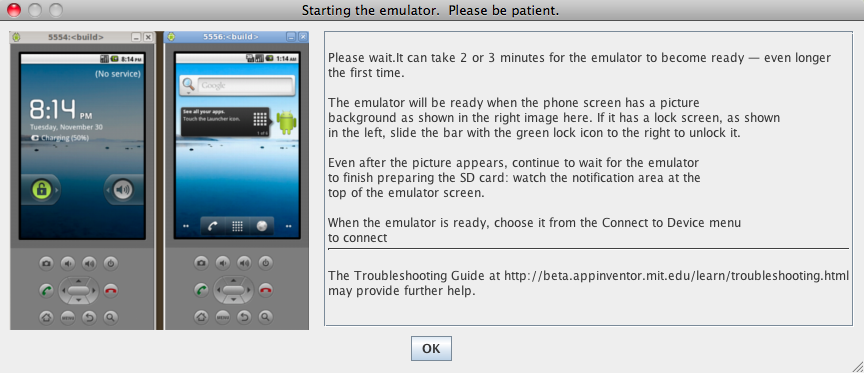
Step 3. The emulator will initially appear with an empty black screen (#1). Wait until the emulator is ready, with a colored screen background (#2). Even after the background appears, you should wait until the emulated phone has finished preparing its SD card: there will be a notice at the top of the phone screen while the card is being prepared. You might also need to use your mouse on the emulated phone screen to unlock the device by dragging the green lock button to the right (#3).
#1 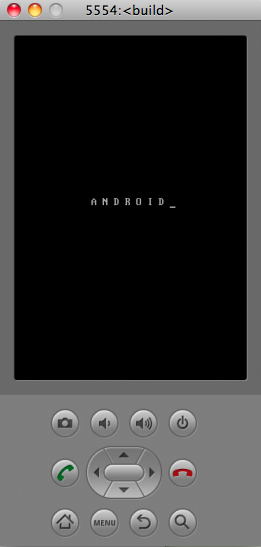 #2
#2 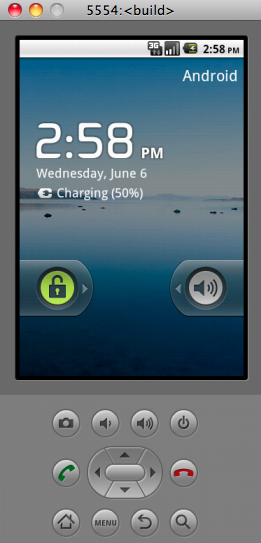 #3
#3 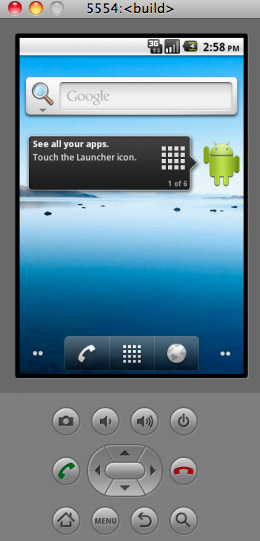
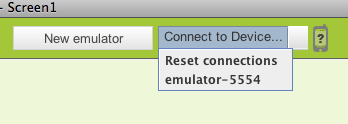
Step 4. The emulator works like a phone with some limitations (e.g., you cannot "shake" the emulator like you can do with a phone). After you unlock the emulator, click the "Connect the Device..." button and click the emulator. When the phone icon turns to green, it means the emulator is connected.
Setup complete! You are now ready to build your first app!
MIT App Inventor


This work is licensed under a Creative Commons Attribution-ShareAlike 4.0 International License.
Terms of Service and Privacy Policy
Other inquiries: Email
GitHub: mit-cml
Accessibility: accessibility.mit.edu


