Installing App Inventor 2 Setup on Windows
Installing the Windows software for App Inventor Setup has two parts:
- Installing the App Inventor Setup software package. This step is the same for all Android devices, and the same for Windows XP, Vista, Windows 7, 8.1, and 10.
- If you choose to use the USB cable to connect to a device, then you’ll need to install Windows drivers for your Android phone.
NOTE: App Inventor 2 does not work with Internet Explorer. For Windows users, we recommend using either Chrome or Firefox as your browser for use with App Inventor.
Note: These instructions are for the new Emulator package that requires 64-bit Windows. You can find the older version Here.
Installing the App Inventor Setup software package
You must perform the installation from an account that has administrator privileges. Installing via a non-administrator account is currently not supported.
Note: You will need to be logged in as an Administrator to complete the steps below.
- Download the installer.
- Locate the file MIT_App_Inventor_Tools_30.265.0_win_setup64.exe (~1.5 GB) in your Downloads file or your Desktop. The location of the download on your computer depends on how your browser is configured.
- Open the file.
- Click through the steps of the installer. Do not change the installation location but record the installation directory, because you might need it to check drivers later.
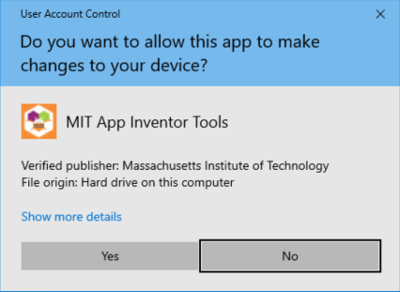
- You will likely get a dialog box from the User Account Manager asking if you wish to make changes to your device. It should say that the software is signed by the Massachusetts Institute of Technology. Click Yes.
Locating the Setup software
In most cases, App Inventor should be able to locate the Setup software on its own. But if it asks for the location of the software, the path to enter is C:\Program Files\App Inventor.
Something not working right? Visit the troubleshooting page, or check the App Inventor User Forum for help.
Continue with setup - Choose the connection instructions you were following:
| Setup Emulator | < - OR -> | Connect with USB |
MIT App Inventor


This work is licensed under a Creative Commons Attribution-ShareAlike 4.0 International License.
Terms of Service and Privacy Policy
Other inquiries: Email
GitHub: mit-cml
Accessibility: accessibility.mit.edu


