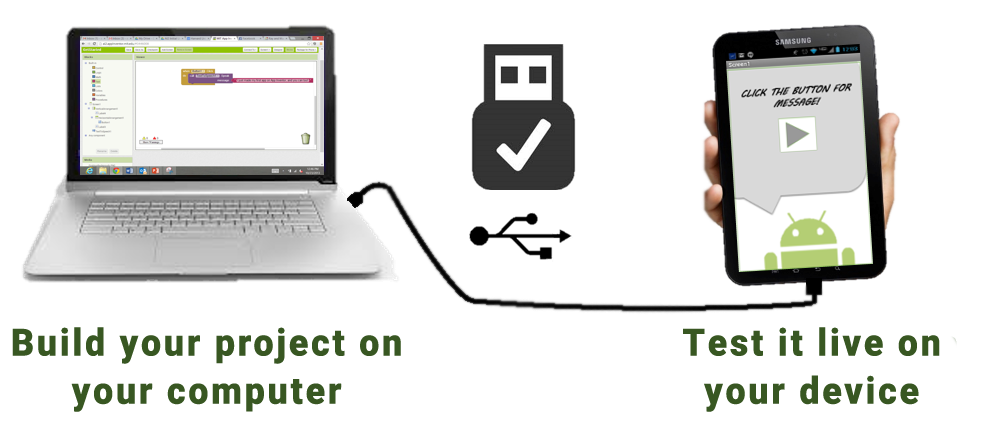
Connecting to an Android phone or tablet with a USB cable

When you use App Inventor with a phone or tablet, that device communicates with the App Inventor software running in your computer's browser window. This communication is managed by the AI2 Companion App running on the device. The instructions below (Step 2) explain how to install the companion. The Companion can communicate with your computer over a wireless connection. This is the method strongly recommended by the App Inventor team. It does not require any additional software to be installed on your computer. (See Option 1, under Setting up App Inventor.)
There are, however, some environments where wireless connections won't work. These include some hotels, conference centers, and schools, that configure their wireless networks to prohibit two devices on the network from communicating with each other. See How Does my Android Device Connect Over Wi-Fi? for a short explanation.Some App Inventor users have solved this problem by purchasing a wireless router and setting up their own local network. (Also, most Macs and some PC can serve as WiFi routers that can handle a small number of machines.) But where even this is impossible, you can still use App Inventor with a phone or tablet if you connect it to the computer with a USB cable.
Setting up a USB connection can be awkward, especially on Windows machines, which need special driver software to connect to Android devices. (This is not the case with Mac or Linux, which do not need special drivers.) Unfortunately, different devices may require different drivers, and, outside of a few standard models, Microsoft and Google have left it to the device manufacturers to create and supply the drivers. As a consequence, that you may have to search on the Web to find the appropriate driver for your phone. App Inventor provides a test program that checks if your USB-connected device can communicate with the computer. You should run this test and resolve any connection issues before trying to use App Inventor with USB on that device.
Here are the steps for beginning to use App Inventor with the USB cable:
Step 1: Install the App Inventor Setup Software
To connect with USB, you need to first install the App Inventor setup software on your computer. (This is not required for the Wi-Fi method.) Follow the instructions below for your operating system, then come back to this page to move on to step 2
Important: If you are updating a previous installation of the App Inventor software, see How to update the App Inventor Software.
You can check whether your computer is running the latest version of the software by visiting the Connection Test Page.Step 2: Download and install the MIT AI2 Companion App on your phone.
Open your device's QR code scanner and scan the QR code on the left below to download the Companion App from the Play Store. If you can't use the Play Store, use the QR code on the right to download the Companion App directly to your phone.
Play StoreRecommended: Automatic updates |
APK FileManual updates required |
 |
 |
Scan this QR code (or click this link) |
Scan this QR code (or click this link) |
| If you need a QR code scanner, you can get one at the Play Store (e.g., ZXing). | |
After downloading, step though the the instructions to install the Companion app on to your device.You need to install the MIT AI2 Companion only once, and then leave it on your phone or tablet for whenever you use App Inventor.
Note: If you choose not to go through the Play store and instead load the app directly (aka "side load), you will need to enable an option in your device's settings to allow installation of apps from "unknown sources". To find this setting on versions of Android prior to 4.0, go to "Settings > Applications" and then check the box next to "Unknown Sources". For devices running Android 4.0 or above, go to "Settings > Security" or "Settings > Security & Screen Lock" and then check the box next to "Unknown Sources" and confirm your choice.
Step 3. Launch aiStarter (Windows & GNU/Linux only)
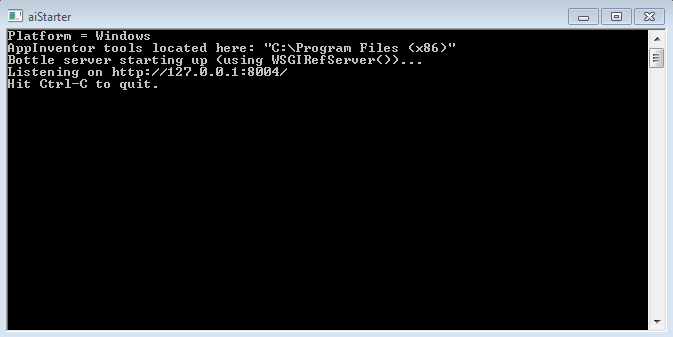
Using the emulator or the USB cable requires the use of a program named aiStarter. This program is the helper that permits the browser to communicate with the emulator or USB cable. The aiStarter program was installed when you installed the App Inventor Setup package. You do not need aiStarter if you are using only the wireless companion. On a Mac, aiStarter will start automatically when you log in to your account and it will run invisibly in the background. On Windows, there will be shortcuts to aiStarter from your Desktop, from the Start menu, from All Programs and from Startup Folder. If you want to use the emulator with App Inventor, you will need to manually launch aiStarter on your computer when you log in. You can start aiStarter this by clicking the icon on your desktop or using the entry in your start menu.
The aiStarter Icon on Windows
To launch aiStarter on Windows, double click on the icon (shown above). You'll know that you've successfully launched aiStarter when you see a window like the following:

Step 4: Set up your device for USB (Turn USB Debugging ON)
On your Android device, go to System Settings, Developer Options, turn them on, and be sure that "USB Debugging" is allowed.
On most devices running Android 3.2 or older, you can find this option under Settings > Applications > Development.
On Android 4.0 and newer, it's in Settings > Developer options.
Note: On Android 4.2 and newer, Developer options is hidden by default. To make it available, go to Settings > About phone and tap Build number seven times. Return to the previous screen to find Developer options, including "USB Debugging".
Step 5: Connect your computer and device, and authenticate if necessary.
Connect your Android device to the computer using the USB cable - be sure that the device connects as a "mass storage device" (not "media device") and that it is not mounted as a drive on your computer. This may mean that you have to go to the Finder (on a Mac) or My Computer (on Windows) and disconnect any drive(s) that were mounted when you connected your Android device.
On Android 4.2.2 and newer, your device will pop up a screen with the message Allow USB Debugging? the first time you connect it to new computer. Press "OK". This authenticates the computer to the device, allowing the computer to communicate with it. You'll need to do this for each computer you want to connect to the device, but only once per computer.


